Getting Started
1. Host System Requirements
The majority of development is performed on Linux operating systems (primarily Debian) so this is the most well tested platform, however Windows and Mac OS are also supported.
Any 64-bit Intel or AMD processor, or Apple Silicon Mac, should be able to run ngscopeclient. If AVX2 and/or AVX512F support is present ngscopeclient will use special optimized versions of some signal processing functions, however neither instruction set is required. Other (non Apple Silicon) ARM64 platforms may work if a compatible GPU is available, but have not been tested. 32-bit platforms are not supported due to the significant RAM requirements (but we won’t stop you from trying).
A mouse with scroll wheel, or touchpad with scroll gesture support, is mandatory to enable full use of the UI. We may explore alternative input methods for some UI elements in the future.
Any GPU with Vulkan support should be able to run ngscopeclient, however Vulkan 1.2 will deliver better performance. The minimum supported GPUs are:
-
NVIDIA: Maxwell architecture (GeForce GTX 700 series and newer, February 2014)
-
AMD: GCN based (Radeon HD 7000 and newer, January 2012)
-
Intel: Iris Plus 540 or HD Graphics 520 (Skylake, August 2015)
-
Apple: all Apple Silicon devices (M1 and newer). Newer Intel devices with Metal support should work but support is not guaranteed.
The minimum RAM requirement to launch ngscopeclient is relatively small; however, actual memory consumption is heavily dependent on workload and can easily reach into the tens of gigabytes when doing complex analysis on many channels with deep history.
Typical RAM consumption examples:
-
Default configuration with demo scope (4 channels 100K points, 10 waveforms of history, no analysis): 250 MB
-
4M point live streaming with 10 waveforms of history, eye pattern, 8B/10B decode, and jitter histogram: 650 MB
-
Single 512M point waveform, no analysis or history: 2.1 GB
-
512M point P/N channel waveforms with CDR and eye pattern, no history: 8.3 GB
Large amounts of GPU RAM are required for working with deep waveforms, especially if you intend to perform complex analysis on them. Analog waveforms are stored in 32-bit floating point format internally, so a single 256 megapoint waveform will consume 1GB of GPU memory. Intermediate results in multi-step filter pipelines require GPU memory as well, even if not displayed.
2. Instrument Support
ngscopeclient uses the libscopehal library to communicate with instruments, so any libscopehal-compatible hardware should work with ngscopeclient. See the \hyperref[sec:scope-drivers]{Oscilloscope Drivers} section for more details on which hardware is supported and how to configure specific drivers.
3. Compilation
ngscopeclient can be compiled on Linux, macOS, and Windows. While the compilation process is generally similar, various steps differ among platform and distro.
3.1. Linux
Details
-
Install dependencies.
Debian Steps
Basic requirements:
sudo apt-get install build-essential git cmake pkgconf libgtkmm-3.0-dev \
libcairomm-1.0-dev libsigc++-2.0-dev libyaml-cpp-dev catch2 libglfw3-dev curl xzip
On Debian bookworm and later, you can use system-provided Vulkan packages. Skip this on Debian bullseye, or if you choose to use the Vulkan SDK instead:
sudo apt-get install libvulkan-dev glslang-dev glslang-tools spirv-tools glslcOn Debian bullseye, you will need cmake from backports:
sudo bash -c 'echo "deb http://deb.debian.org/debian bullseye-backports main" >> \
/etc/apt/sources.list.d/bullseye-backports.list'
sudo apt-get update
sudo apt-get install cmake/bullseye-backports
To build the LXI component (needed if you have LXI- or VXI-11-based instruments):
sudo apt install liblxi-dev libtirpc-devFor GPIB, you will need to install Linux-GPIB; instructions for this are out of scope here.
To build the documentation, you will also need LaTeX packages:
sudo apt install texlive texlive-fonts-extra texlive-extra-utilsUbuntu Steps
Basic requirements:
sudo apt install build-essential git cmake pkgconf libgtkmm-3.0-dev \
libcairomm-1.0-dev libsigc++-2.0-dev libyaml-cpp-dev catch2 libglfw3-dev curl xzip
On Ubuntu 22.10 and earlier (including 20.04 and 22.04), you will need to use the Vulkan SDK. Instructions for installing this are in a later step. On Ubuntu 23.04 and later, you can instead use system-provided Vulkan packages:
sudo apt-get install libvulkan-dev glslang-dev glslang-tools spirv-tools glslcTo build the LXI component (needed if you have LXI- or VXI-11-based instruments):
sudo apt install liblxi-dev libtirpc-devFor GPIB, you will need to install Linux-GPIB; instructions for this are out of scope here.
To build the documentation, you will also need LaTeX packages:
sudo apt install texlive texlive-fonts-extra texlive-extra-utilsFedora Steps
Basic requirements:
sudo dnf install git gcc g++ cmake make pkgconf cairomm-devel gtk3-devel \
libsigc++30-devel yaml-cpp-devel catch-devel glfw-devel
System-provided Vulkan packages. Skip these if you choose to use the Vulkan SDK instead:
sudo dnf install vulkan-headers vulkan-loader-devel glslang-devel  glslc \
libshaderc-devel spirv-tools-devel
To build the LXI component (needed if you have LXI- or VXI-11-based instruments):
sudo dnf install liblxi-devel libtirpc-develFor GPIB, you will need to install Linux-GPIB; instructions for this are out of scope here.
To build the documentation, you will also need LaTeX packages:
sudo dnf install texliveAlpine Linux Steps
As Alpine Linux uses musl libc, you will need to use system-provided Vulkan packages, and not the Vulkan SDK.
apk add git gcc g++ cmake make pkgconf cairomm-dev gtk+3.0-dev libsigc++-dev \
yaml-cpp-dev catch2-3 vulkan-loader-dev glslang-dev glslang-static glfw-dev \
shaderc-dev spirv-tools-dev
If you are using an older stable release (such as CentOS 7), you may need to install some dependencies from source.
-
Install FFTS library:
This installs the library into /usr/local. If you want to install it into a custom prefix, you will need to use CMAKE_INSTALL_PREFIX here and CMAKE_PREFIX_PATH when running cmake for scopehal-apps, which are out of scope for these instructions.
cd ~ git clone https://github.com/anthonix/ffts.git cd ffts mkdir build cd build cmake .. -DENABLE_SHARED=ON make -j4 sudo make install -
Install Vulkan SDK:
In many cases, you can install the SDK components from distro-provided repositories, which is covered above. When possible, this is preferred over installing the Vulkan SDK. If you choose not to, or are running a Linux distro that does not provide these packages (for instance, Debian Bullseye, Ubuntu versions prior to 23.04, or other stable distros), the following instructions cover installing and loading the Vulkan SDK.
The latest tested SDK at the time of documentation update is version 1.3.275.0. Newer SDKs are supported, but breaking changes sometimes take place. If you are using a newer SDK and run into problems, please file a bug report.
If you are using Ubuntu 20.04 or 22.04, you may install the .deb packaged SDK release instead of following the instructions below. This may work for Debian as well but is not supported.
Alternatively, to use the tarball packaged SDK, download and unpack the tarball. You can manually download the SDK, or do the following:
cd ~
mkdir VulkanSDK
cd VulkanSDK
curl -LO 'https://vulkan.lunarg.com/sdk/download/1.3.275.0/linux/vulkansdk-linux-x86_64-1.3.275.0.tar.xz'
tar xfv vulkansdk-linux-x86_64-1.3.275.0.tar.xz
And then source the
setup-env.shfile:source "$HOME/VulkanSDK/1.3.275.0/setup-env.sh"When using the tarball-packaged SDK, you will need to source the
setup-env.shfile any time you want to compile or run ngscopeclient. For convenience, you can add this to your.bash_profileor equivalent:echo "source \"$HOME/VulkanSDK/1.3.275.0/setup-env.sh\"" >> ~/.bash_profile -
Build scopehal and scopehal-apps:
cd ~
git clone --recursive https://github.com/ngscopeclient/scopehal-apps.git
cd scopehal-apps
mkdir build
cd build
cmake .. -DCMAKE_BUILD_TYPE=Release
make -j4
3.2. macOS
Details
-
Install dependencies.
You will need Xcode (either from the App Store or the Apple developer site); after installing, run it once for it to install system components. This provides gcc, g++, make, and similar required packages.
With Homebrew (brew.sh):
-
Basic requirements:
brew install pkg-config cairomm libsigc++ glfw cmake yaml-cpp glew catch2 libomp -
Vulkan SDK components (skip if using the Vulkan SDK):
brew install vulkan-headers vulkan-loader glslang shaderc spirv-tools molten-vk -
Alternatively, install the Vulkan SDK:
 https://vulkan.lunarg.com/sdk/home[Download and install the Vulkan SDK.].
The latest tested SDK at the time of documentation update is version 1.3.275.0. Newer SDKs are supported, but breaking
changes sometimes take place.
If you are using a newer SDK and run into problems, please file a bug report.
And then source the
setup-env.shfile:source "$HOME/VulkanSDK/1.3.275.0/setup-env.sh"When using the SDK, you will need to source the
setup-env.shfile any time you want to compile or run ngscopeclient. For convenience, you can add this to your.zprofileor equivalent:echo "source \"$HOME/VulkanSDK/1.3.275.0/setup-env.sh\"" >> ~/.zprofile
-
-
Build scopehal and scopehal-apps:
cd ~
git clone --recursive https://github.com/ngscopeclient/scopehal-apps.git
cd scopehal-apps
mkdir build
cd build
cmake .. -DCMAKE_BUILD_TYPE=Release -DCMAKE_PREFIX_PATH="$(brew --prefix);$(brew --prefix)/opt/libomp"
make -j4
3.3. Windows
Details
On Windows, we make use of the MSYS2 development environment, which gives us access to the MingGW-w64 toolchain. Since this toolchain allows ngscopeclient to be compiled as a native Windows application, the project might be run outside of MSYS2.
-
Download and install MSYS2. You can download it from msys2.org or github.com/msys2/msys2-installer/releases
The following steps can be done in any MSYS-provided shell.
-
Install git and the toolchain:
pacman -S git wget mingw-w64-ucrt-x86_64-cmake mingw-w64-ucrt-x86_64-toolchain -
Install general dependencies:
pacman -S mingw-w64-ucrt-x86_64-libsigc++ mingw-w64-ucrt-x86_64-cairomm mingw-w64-ucrt-x86_64-yaml-cpp mingw-w64-ucrt-x86_64-glfw mingw-w64-ucrt-x86_64-catch -
Install Vulkan dependencies:
pacman -S mingw-w64-ucrt-x86_64-vulkan-headers mingw-w64-ucrt-x86_64-vulkan-loader mingw-w64-ucrt-x86_64-shaderc \ mingw-w64-ucrt-x86_64-glslang mingw-w64-ucrt-x86_64-spirv-tools -
Install FFTS:
pacman -S mingw-w64-ucrt-x86_64-ffts -
Check out the code
cd ~
git clone --recursive https://github.com/ngscopeclient/scopehal-apps
All following steps are to be done in a UCRT64 shell.
-
Build manually:
cd scopehal-apps mkdir build cd build cmake .. make -j4 -
Install scopehal and scopehal-apps:
At the moment, installation scripts are not yet complete. The binaries can be found in the build directory, such as ngscopeclient in \$HOME/scopehal-apps/build/src/ngscopeclient.
4. Running ngscopeclient
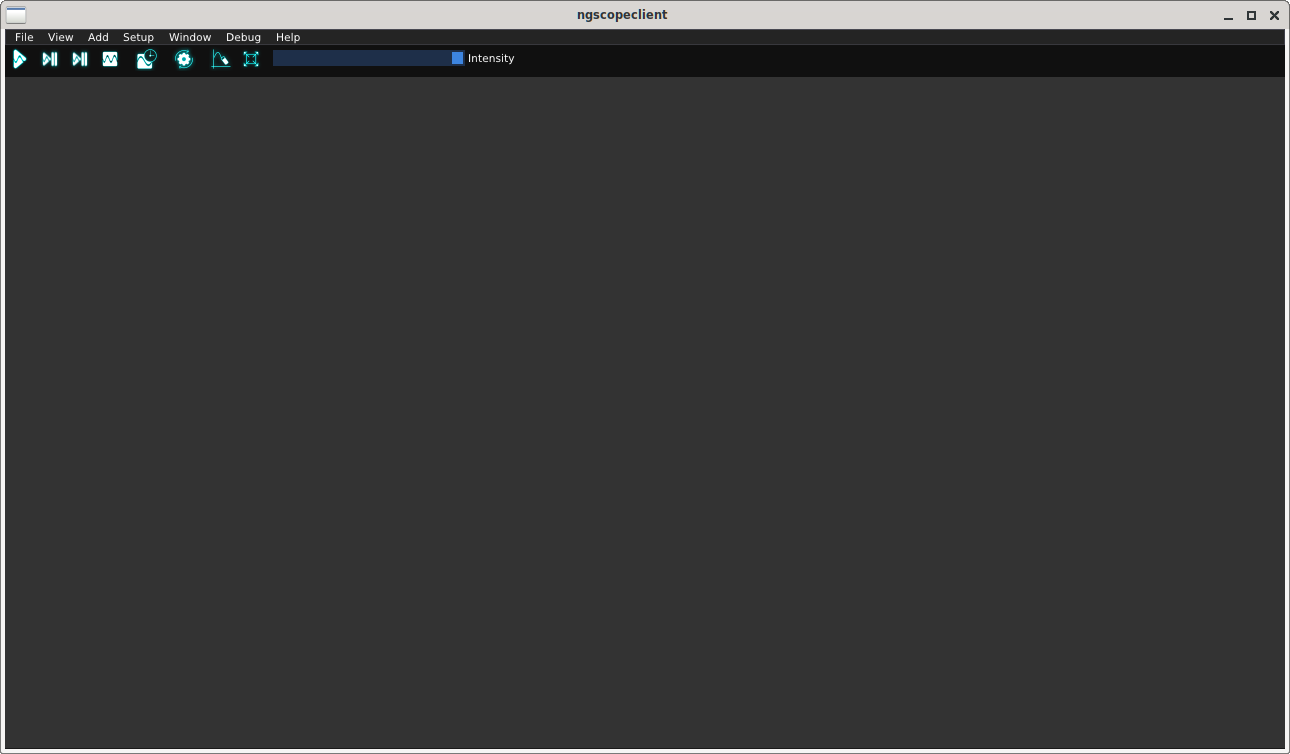
When running ngscopeclient with no arguments, an empty session (Figure 1) is created. To perform useful work, you can:
-
Open a saved session and reconnect to the instruments (
File | Open Online) -
Open a saved session without reconnecting to the instruments (
File | Open Offline) -
Open a recently used session (
File | Recent Files) -
Import waveforms from a third party file format (
Add | Import) -
Connect to an instrument (
Add | Oscilloscope,Add | Multimeter, etc.) -
Generate a synthetic waveform (
Add | Generate)
4.1. Console verbosity arguments
ngscopeclient takes standard liblogtools arguments for controlling console debug verbosity.
If no verbosity level is specified, the default is "notice" (3). (We suggest using --debug for routine use
until the v1.0 release to aid in troubleshooting.)
-
--debugSets the verbosity level to "debug" (5). -
-l [file],--logfile [file]Writes a copy of all log messages tofile. This is preferred over simply redirecting output with pipes, as console escape sequences are stripped from the file log output. -
-L [file],--logfile-lines [file]Same as--logfileexcept line buffering is turned on. -
-q,--quietReduces the verbosity level by one. Can be specified more than once to lower verbosity by several steps. -
--trace [class],--trace [class::function]Enables extra debug output from the classclassor the functionclass::function. Has no effect unless--debugis also specified. -
--stdout-onlySends all logging output to stdout. By default, error (level 1) and warning (level 2) messages go to stderr. -
--verboseSets the verbosity level to "verbose" (4).